


说明:Nginx在默认安装好之后,是禁止目录浏览的,如下图所示

系统运维 www.osyunwei.com 温馨提醒:qihang01原创内容版权所有,转载请注明出处及原文链接
http://www.osyunwei.com/html

如果要开启目录浏览功能,请看下面操作:
1、开启全站所有目录浏览功能
vi /usr/local/nginx/conf/nginx.conf #编辑配置文件,在http {下面添加以下内容:
autoindex on; #开启nginx目录浏览功能
autoindex_exact_size off; #文件大小从KB开始显示
autoindex_localtime on; #显示文件修改时间为服务器本地时间
:wq! #保存,退出

service nginx reload #重新加载nginx配置
打开
http://www.osyunwei.com/soft

系统运维 www.osyunwei.com 温馨提醒:qihang01原创内容版权所有,转载请注明出处及原文链接

可以看到,nginx的目录浏览功能已经打开!
2、只打开网站部分目录浏览功能
只打开
http://www.osyunwei.com/soft 目录浏览
vi /usr/local/nginx/conf/nginx.conf #编辑配置文件,在server {下面添加以下内容:
location /soft {
autoindex on;
autoindex_exact_size off;
autoindex_localtime on;
}
:wq! #保存,退出

service nginx reload #重新加载nginx配置
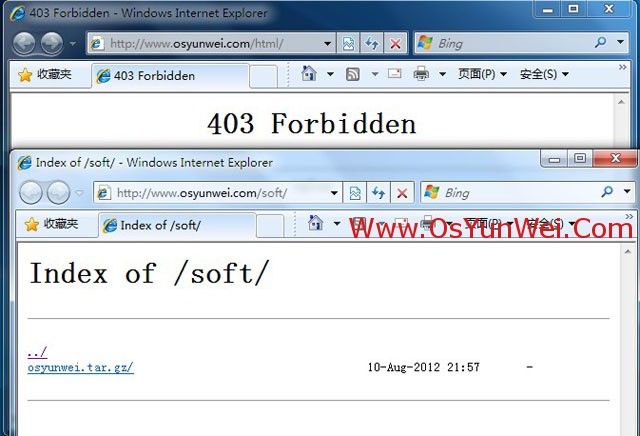
打开http://www.osyunwei.com/soft 可以浏览目录
打开http://www.osyunwei.com/html 出现403错误,禁止目录访问
目的实现
至此,Nginx开启目录浏览功能教程完成!

 ②190706903 ③203744115


刚好受用,感谢楼主