
一、Ubuntu Server 24.04.1 LTS系统安装
Ubuntu Linux发型版本目前有两种:Ubuntu桌面版和Ubuntu Server服务器版本,服务器系统建议选择Ubuntu Server服务器版本。
目前最新的服务器LTS版本是:Ubuntu Server 20.04.1 LTS(长期支持版本,5年技术支持)
安装镜像是:ubuntu-24.04.1-live-server-amd64.iso
live代表默认安装过程中需要网络,会自动下载更新,安装时间会很久,甚至会卡在安装界面导致安装失败,因此建议安装前先断网,不让自动下载更新,安装就会很快。
Ubuntu Server 默认没有中文语言,我们使用默认的英文即可。
Ubuntu Linux发型版下载:
http://cdimage.ubuntu.com/ubuntu/releases/
系统镜像下载:
https://mirrors.163.com/ubuntu-releases/24.04.1/ubuntu-24.04.1-live-server-amd64.iso
成功引导系统后进入下面的安装界面
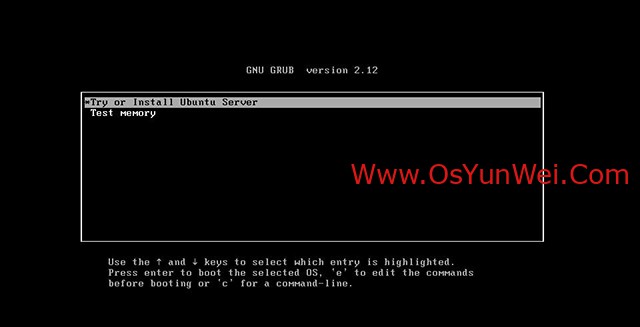
选择第一项安装系统
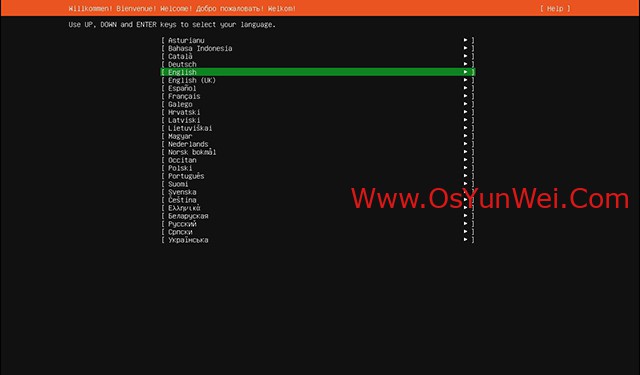
选择安装语言 English
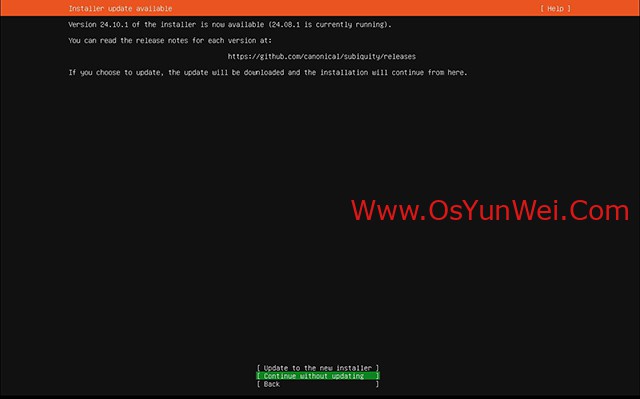
continue without updating 继续而不更新 #选择此项,不更新
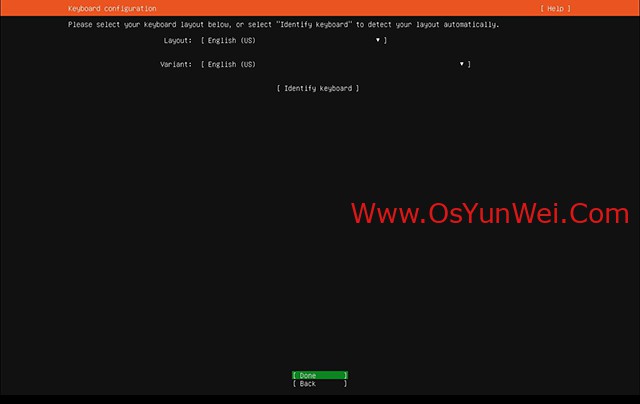
Done默认
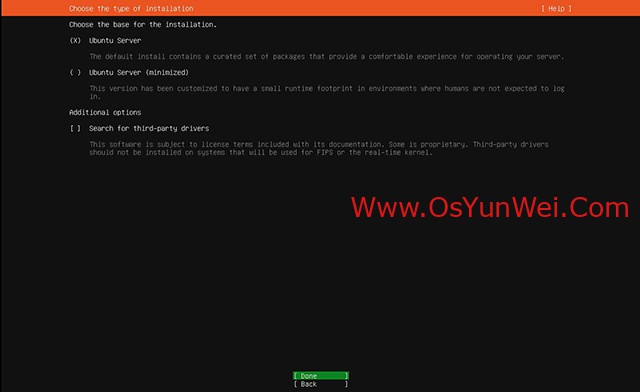
默认选择第一项,安装Ubuntu Server
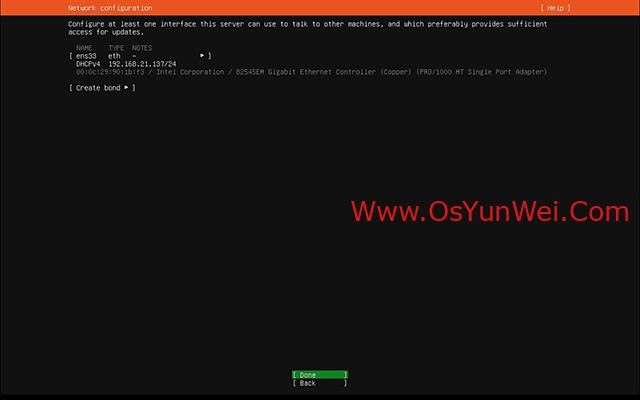
网络设置界面,默认即可,系统安装完成之后在设置
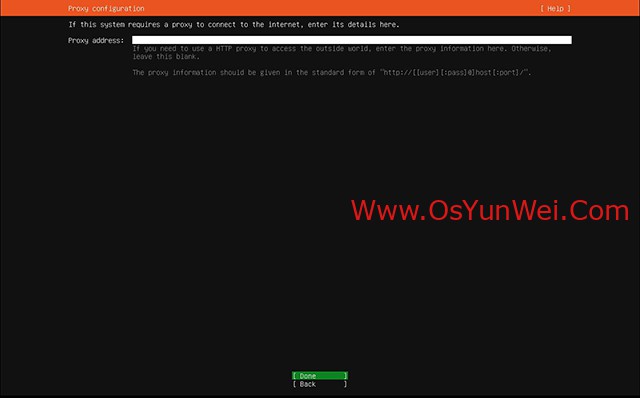
不使用代理,Done
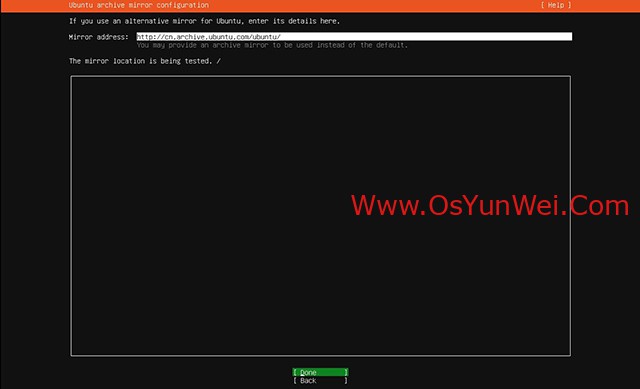
默认是从官方源安装,会比较慢,可以改为国内源,
比如:163的源:
http://mirrors.163.com/ubuntu/
这里默认Done
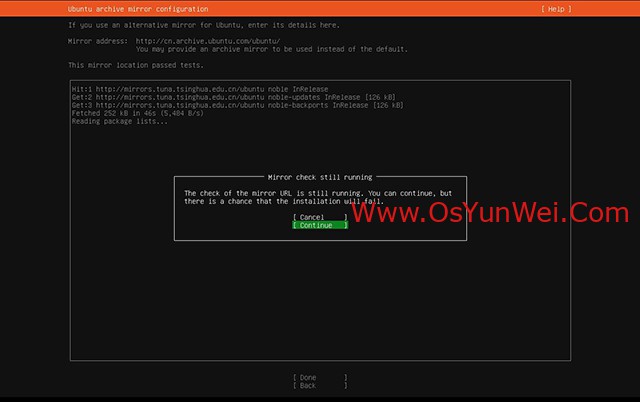
选择Continue继续
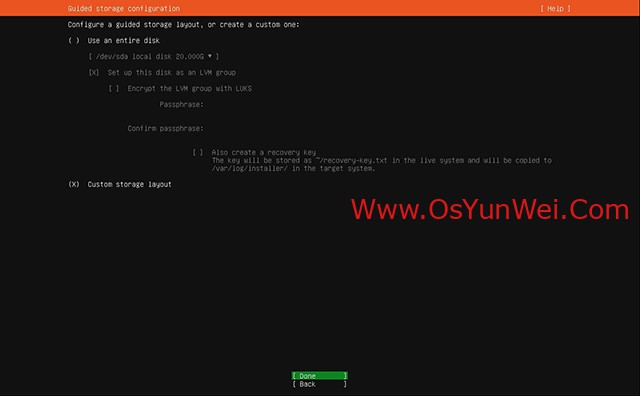
磁盘分区,选择Custom storage layout #自定义分区
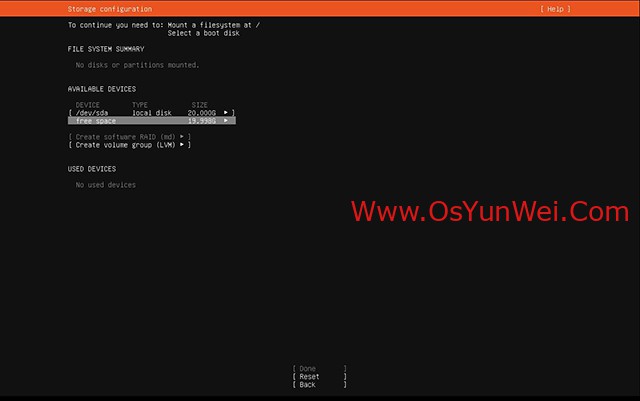
我们使用lvm分区
lvm分区需要创建一个/boot分区
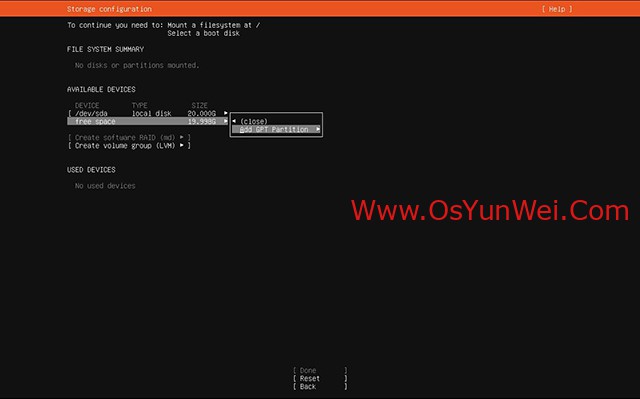
先创建/boot 分区,容量设置为1g
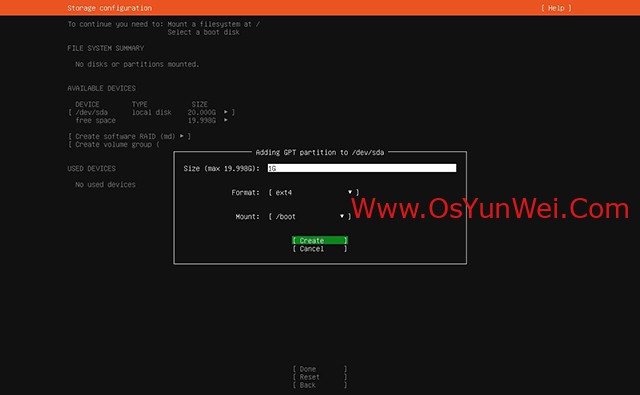
Create创建分区
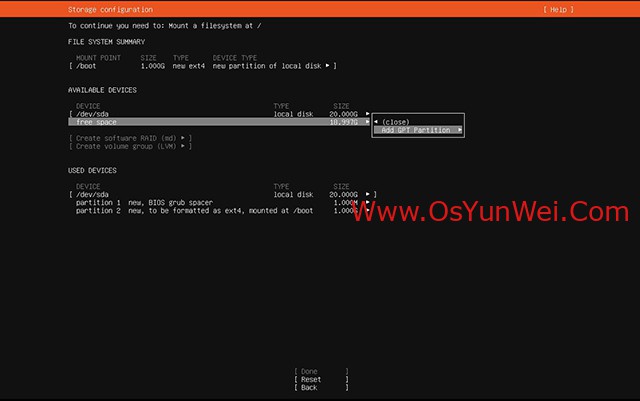
把剩余容量再创建一个分区
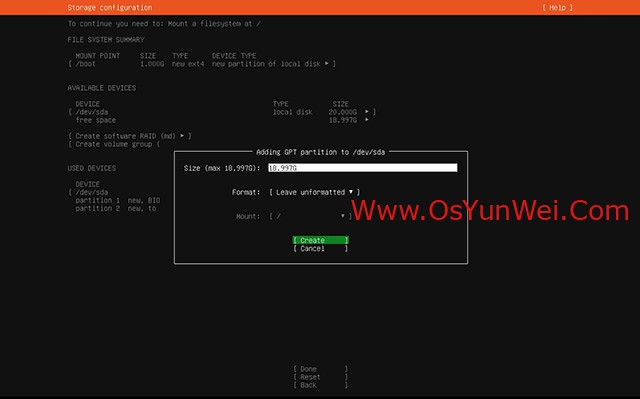
Format选择:Leave unformatted 这个分区用于lvm的物理卷
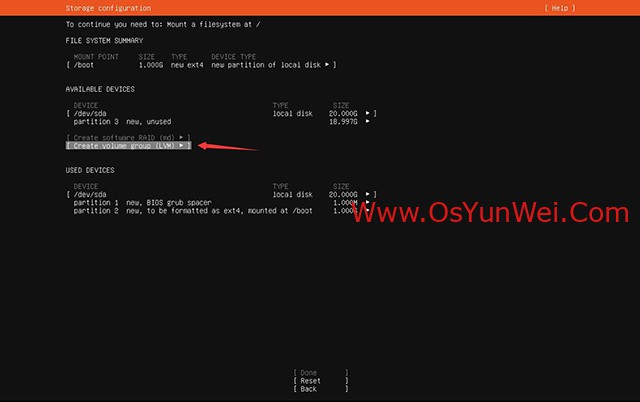
创建卷组
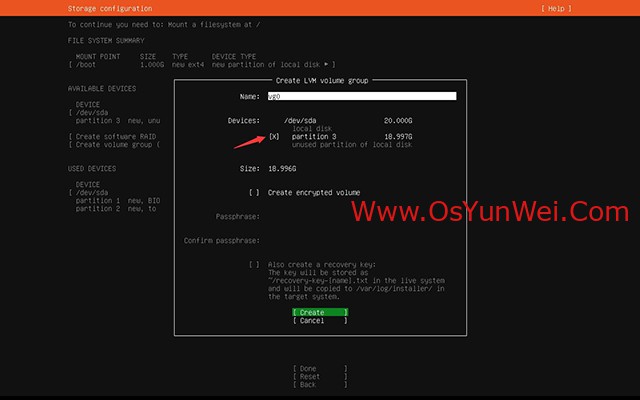
卷组名称默认即可,选择分区,点创建
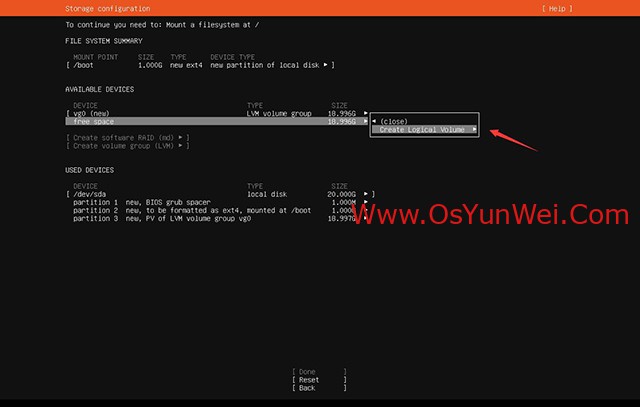
创建逻辑卷
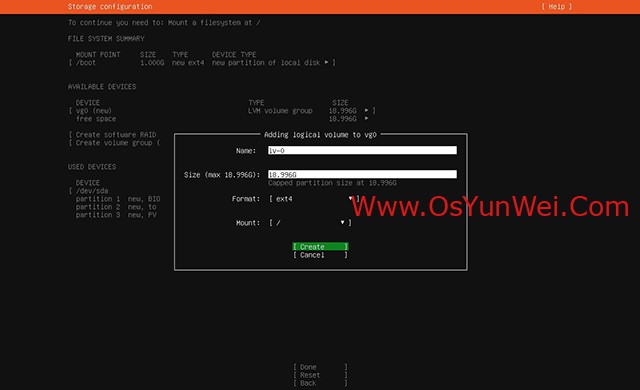
名称默认即可,使用全部容量,
Format选择:ext4
挂载点:/
点Create创建
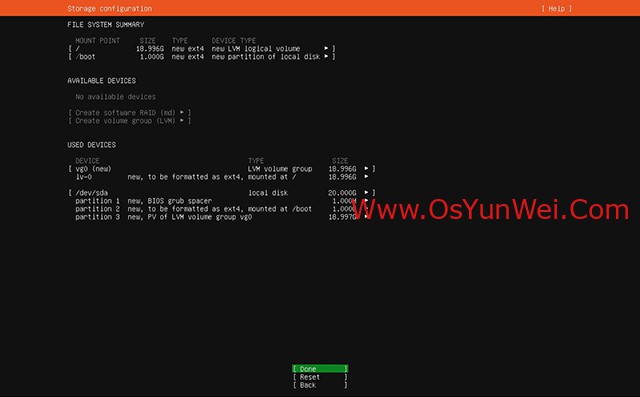
磁盘分区完成,点Done

磁盘分区完成,点Done
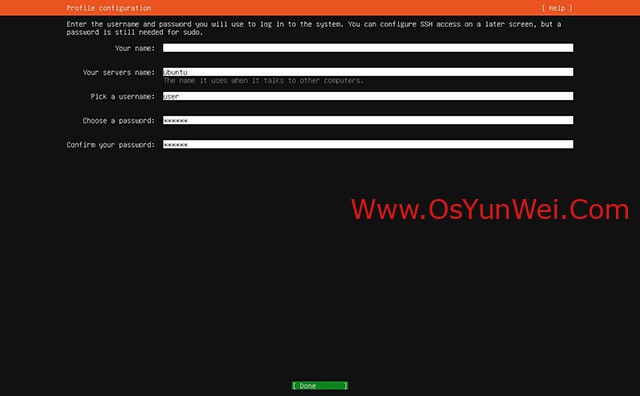
安装过程中一定要创建一个普通用户
你的姓名:留空就行,不是登录服务器的用户名,相当于描述
你的服务器名称:ubuntu或者localhost都行自己设置
#服务器名称不能有大写字母,相当于Windows的计算机名称,区别与同一网络内的计算机名称,不能有冲突。
选择一个用户名:user #这个才是登录服务器需要输入的用户名
#系统安装过程中创建的这个用户属于管理员用户,并非普通用户
选择一个密码:123456
确认您的密码:123456
#登录用户user的密码
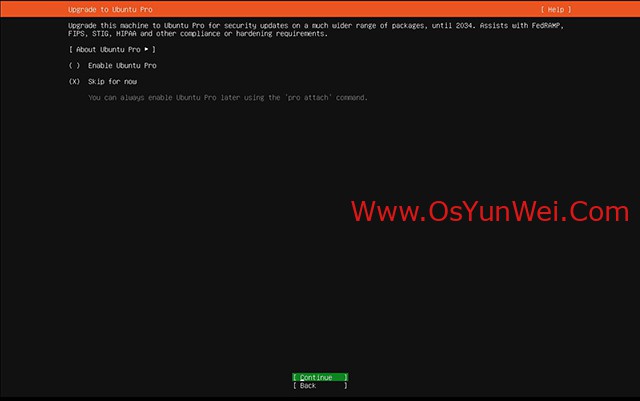
默认,选择Continue继续

Done完成
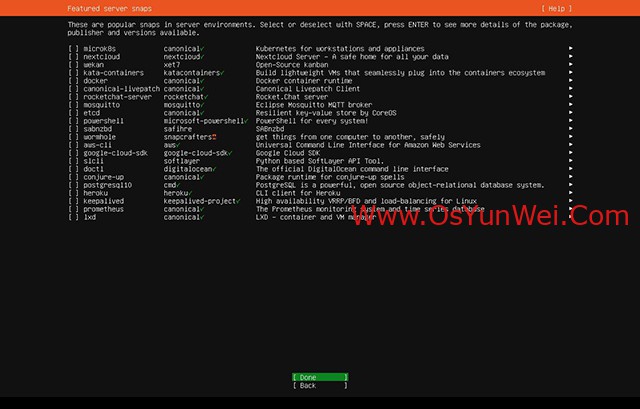
默认就行,Done
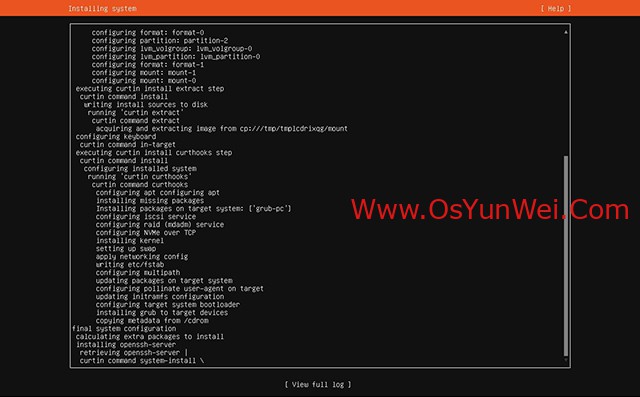
安装中
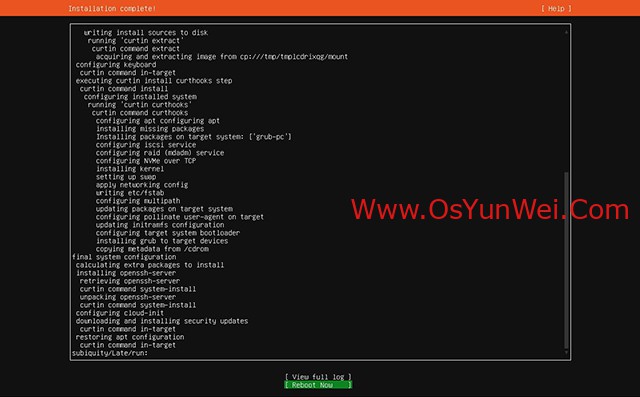
安装完成后,选择Reboot重启系统
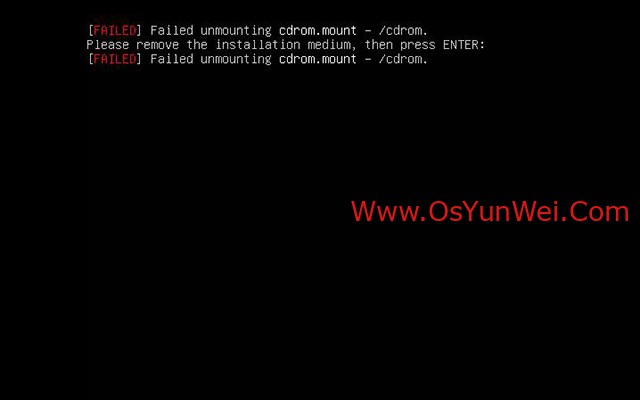
按回车
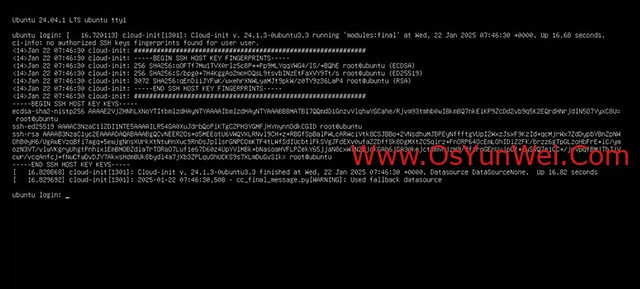
进入登录界面
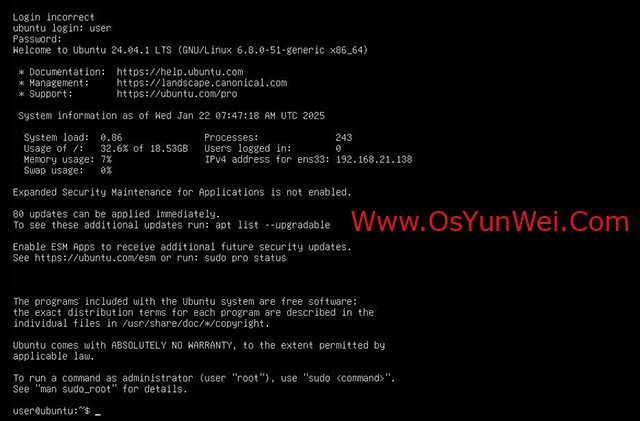
输入上面设置的管理员用户名:user
再输入密码123456登录系统
成功登录系统
shutdown -r now #重启系统
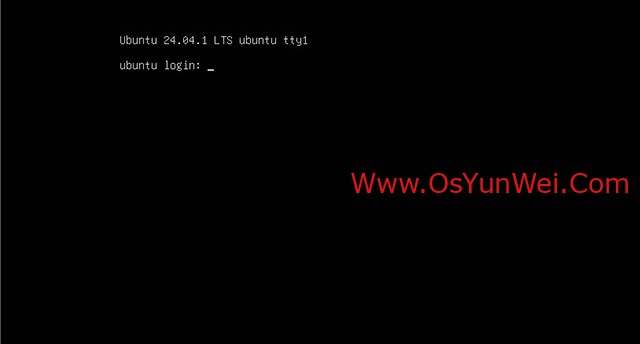
重启后进入登录界面
二、开启root账号
输入上面设置的管理员用户名:user
再输入密码123456登录系统
sudo passwd root #启用root账号并设置密码,根据提示输入2次密码
su - root #从普通用户切换到root用户,根据提示输入root密码
sudo passwd -l root #禁用root账号,如果要启用,输入sudo passwd root再次设置root密码
#相关命令
adduser osyunwei #创建一个普通用户
halt -p #关机,不加参数-p会进入休眠状态,卡在关机界面
三、设置IP地址、网关、DNS
Ubuntu Server17.10 开始,弃用 /etc/network/interfaces 配置文件,改成 netplan 方式,Ubuntu Server 24.04的配置文件件是:
/etc/netplan/50-cloud-init.yaml
nano /etc/netplan/50-cloud-init.yaml #修改
# This file is generated from information provided by the datasource. Changes
# to it will not persist across an instance reboot. To disable cloud-init's
# network configuration capabilities, write a file
# /etc/cloud/cloud.cfg.d/99-disable-network-config.cfg with the following:
# network: {config: disabled}
network:
ethernets:
ens33:
dhcp4: no
addresses: [192.168.21.240/24]
gateway4: 192.168.21.2
nameservers:
addresses: [8.8.8.8]
addresses: [8.8.4.4]
version: 2
ctrl+o #保存配置
ctrl+x #退出
netplan apply #使配置文件生效,如果配置失败,请仔细检查配置文件,注意格式和空格
注意:yaml格式是层级的,配置文件有上下级关系,需要缩进,冒号后面的配置文件一定要空一格再写,否则配置出错。
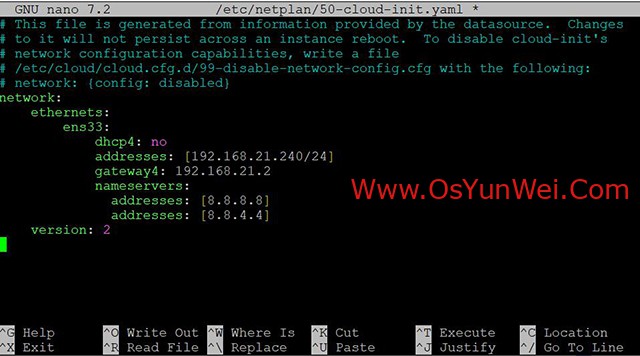
四、修改主机名
nano /etc/hostname #编辑
ubuntu
ctrl+o #保存配置
ctrl+x #退出
五、修改默认软件源
cp /etc/apt/sources.list /etc/apt/sources.list-bak #备份默认源文件
nano /etc/apt/sources.list #编辑
# 默认注释了源码仓库,如有需要可自行取消注释
deb https://mirrors.ustc.edu.cn/ubuntu/ noble main restricted universe multiverse
# deb-src https://mirrors.ustc.edu.cn/ubuntu/ noble main restricted universe multiverse
deb https://mirrors.ustc.edu.cn/ubuntu/ noble-security main restricted universe multiverse
# deb-src https://mirrors.ustc.edu.cn/ubuntu/ noble-security main restricted universe multiverse
deb https://mirrors.ustc.edu.cn/ubuntu/ noble-updates main restricted universe multiverse
# deb-src https://mirrors.ustc.edu.cn/ubuntu/ noble-updates main restricted universe multiverse
deb https://mirrors.ustc.edu.cn/ubuntu/ noble-backports main restricted universe multiverse
# deb-src https://mirrors.ustc.edu.cn/ubuntu/ noble-backports main restricted universe multiverse
# 预发布软件源,不建议启用
# deb https://mirrors.ustc.edu.cn/ubuntu/ noble-proposed main restricted universe multiverse
# deb-src https://mirrors.ustc.edu.cn/ubuntu/ noble-proposed main restricted universe multiverse
ctrl+o #保存配置
ctrl+x #退出
apt-get update #更新软件源索引
如要用于其他版本,把 noble 换成其他版本代号即可: 24.04:noble;20.04:jammy;20.04:focal;18.04:bionic;16.04:xenial;14.04:trusty
六、设置root账号ssh远程登录
默认不允许root用户直接远程登录,如果需要可以开启
nano /etc/ssh/sshd_config
#PermitRootLogin prohibit-password #默认为禁登录
PermitRootLogin yes #改为允许登录
ctrl+o #保存配置
ctrl+x #退出
/etc/init.d/ssh restart #重启ssh服务
service ssh restart
至此,Ubuntu Server 24.04.1 LTS安装配置图解教程完成。

 ②190706903
  ③203744115


